A shower opening can look simple until the door must close cleanly, contain water, and align with tile lines that are not perfectly square. A semi frameless shower door installation is where design expectations meet precise field conditions. Done well, it creates an open, polished focal point without sacrificing the durability and daily practicality a bathroom needs.
Semi-frameless doors are a popular choice for renovations and new builds because they balance clean glass with the added structure of framed channels or select metal edges. They suit a wide range of bathroom styles, from warm traditional spaces to streamlined contemporary suites. The result, however, depends less on a standard door size and more on accurate measurements, suitable hardware, and thoughtful installation.
What Makes a Semi-Frameless Shower Door Different?
A semi-frameless shower enclosure uses substantial glass panels with minimal visible metal. Unlike a fully framed enclosure, which has metal surrounding each panel, semi-frameless systems typically use discreet wall channels, hinges, headers, or edge framing only where support and water control are needed. The glass remains the visual focus.
This construction offers a practical middle ground. The framing provides adjustment and stability that can be helpful in real-world bathroom openings, particularly where walls or tile surfaces vary slightly. At the same time, reduced metal creates a more custom, less enclosed appearance than a conventional framed door.
It is not the same as a fully frameless system. Fully frameless doors rely on thicker tempered glass and carefully positioned hinges, clips, and support hardware. Semi-frameless designs may have a lower initial cost and can accommodate certain installation conditions more easily. The best option depends on the opening, the shower base, the desired sightlines, and how the bathroom will be used every day.
Start With the Shower Opening, Not the Door Style
The most attractive hardware cannot correct an opening that has not been properly assessed. Before a door is selected or fabricated, the installer needs to understand the full shower environment: wall material, tile layout, curb or base condition, plumbing locations, ceiling height, and the available clearance outside the shower.
Measurements are taken at more than one point because walls are rarely perfectly plumb and openings may be wider at the top than the bottom. The curb also needs to be level enough for the door and water-management details to perform correctly. Small differences matter. A few millimeters can affect reveals, hinge operation, and the final fit against seals or magnetic closures.
The swing of the door deserves the same attention. An outward-swinging door is common because it supports safer egress if someone falls inside the shower, but the bathroom must have enough clear floor space for it. A vanity, toilet, towel bar, or heated flooring control should not interfere with the path of the door. In tighter layouts, a sliding semi-frameless option or a fixed panel with a narrower door may be the better answer.
Tile and Wall Structure Matter
Shower glass hardware must be anchored into a sound structure, not simply into tile. Tile is a finished surface, and drilling through it requires care to prevent cracking or damaging waterproofing behind it. The wall needs appropriate backing at hinge, channel, and handle locations.
This is why coordination matters during a renovation. If the shower is still being built, confirming hardware locations before tile installation can prevent avoidable changes later. For completed bathrooms, a professional site review identifies what can be safely installed and whether the chosen design needs to be adjusted.
Choosing Glass, Hardware, and Configuration
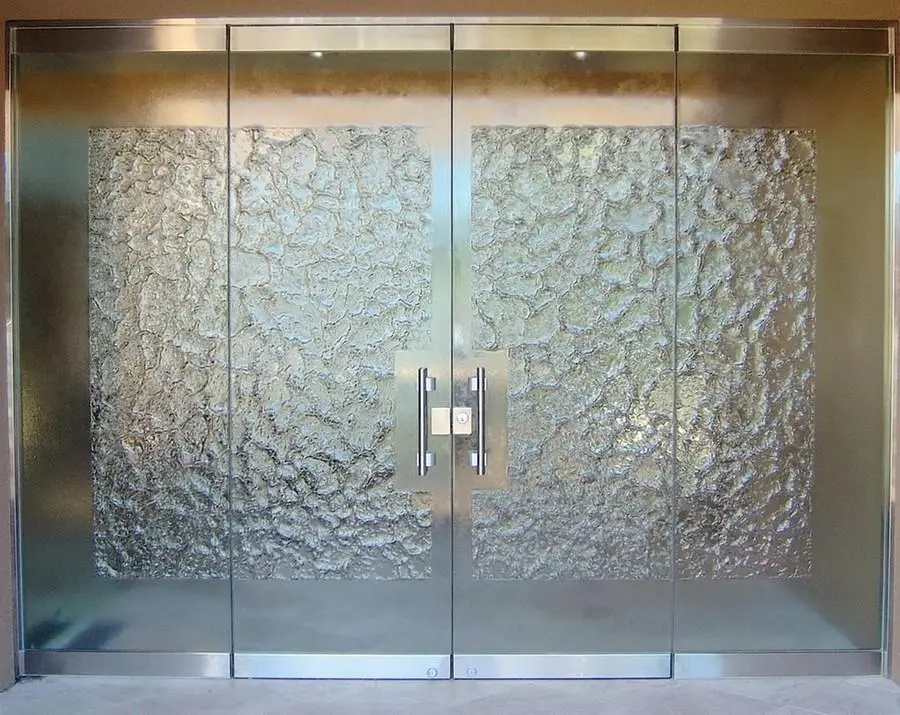
Clear tempered safety glass is a classic choice because it keeps a bathroom bright and lets tilework remain visible. It can make a compact shower feel more open. Low-iron glass is another option when color-neutral clarity is a priority, especially alongside white or light-toned tile. Patterned or frosted glass can offer more privacy, though it changes the open visual effect.
Glass thickness and edge treatment should match the configuration and hardware system. A reliable installation is a complete assembly, not just a panel of glass. Hinges, channels, handles, seals, sweep strips, and fastening methods must work together to support the door and manage water.
Finish selection can connect the shower to the rest of the bathroom. Chrome remains versatile and reflective, while brushed nickel, matte black, brushed gold, and other finishes can reinforce a specific design direction. The practical consideration is consistency: choose a finish that coordinates with faucets, lighting, cabinet pulls, and towel accessories without forcing an exact match where one is not available.
For many homeowners, a hinged door with a fixed adjacent panel gives the shower a tailored appearance. A bypass or sliding configuration may better suit a wide opening or limited floor clearance. A single door can work beautifully in a narrow alcove, provided the walls and curb offer the support and alignment the system requires.
The Semi Frameless Shower Door Installation Process
A successful installation begins well before the crew arrives with glass. Custom work follows a deliberate sequence that protects the finished bathroom and reduces surprises.
1. Consultation and site assessment
The first step is discussing the desired look and how the shower needs to function. The installer reviews the opening, verifies the condition of tile and walls, considers door swing, and recommends a configuration that fits the space. This is also the time to discuss glass style, hardware finish, accessibility needs, and any site-specific limitations.
2. Precise field measurement and fabrication
Once the shower surfaces are complete and stable, final measurements are taken for fabrication. Glass is not something to trim on site if it is slightly off. Tempered glass is cut and processed before tempering, so precision at this stage is essential. Measurements guide the shape of each panel, required cutouts, edge clearances, and hardware locations.
3. Careful installation and quality check
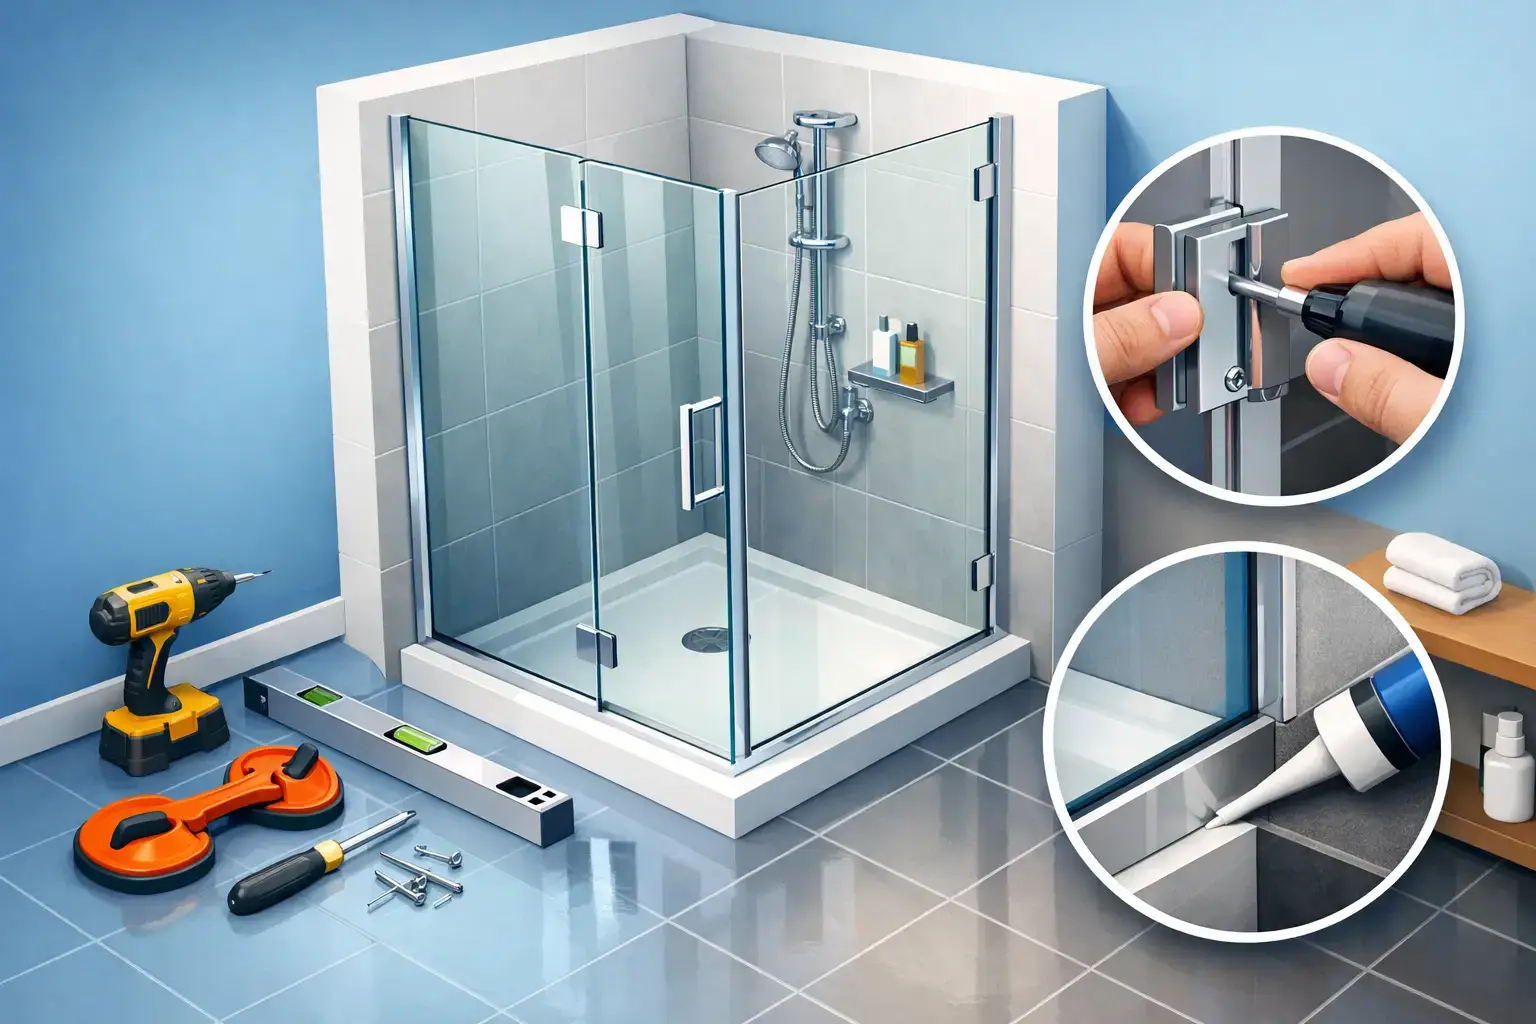
On installation day, the work area is protected and the team positions channels, panels, hinges, and hardware according to the approved layout. Glass is handled with specialized equipment and set gradually to maintain proper alignment. Seals and sweeps are fitted where required, and silicone is applied strategically for water resistance.
The team then checks the door swing, latch engagement, panel alignment, and clearances. A door should operate smoothly without rubbing, binding, or placing stress on the glass. Before the job is complete, the homeowner should understand the curing time for sealant and the recommended cleaning approach.
Water Control Is Part of the Design
No glass door can compensate for a shower floor that sends water away from the drain. The slope of the shower base, the height and condition of the curb, the placement of the showerhead, and the door gaps all contribute to water control.
Semi-frameless systems use seals, sweeps, and channels to guide water back into the shower while preserving a refined appearance. These components should not be treated as afterthoughts. A very open design with oversized gaps may look appealing in a photo, but it may not suit a high-pressure showerhead aimed toward the door or a busy family bathroom where water is likely to splash beyond the enclosure.
Silicone also needs time to cure. Using the shower too soon can compromise the seal and make a well-fitted enclosure appear to have a leak. Follow the installer’s instructions before exposing the new work to water.
Common Mistakes to Avoid
The most expensive mistakes often happen when decisions are made too early or too late. Ordering glass before tile is finished, assuming a wall is square, or choosing a door based only on a photo can lead to delays and redesigns. A custom enclosure should respond to the actual opening, not an idealized measurement.
Another common issue is overlooking nearby fixtures. Door clearance should be confirmed with the vanity doors open, not just when the room is empty. Handle placement, towel bars, and recessed niches may also affect the final layout.
Cleaning choices matter after installation. Avoid abrasive pads and harsh cleaners that can damage hardware finishes or leave residue on glass. A squeegee after use, a soft cloth, and a non-abrasive glass-safe cleaner help preserve clarity and reduce mineral buildup. If the home has hard water, consistent care will make a noticeable difference.
When Professional Installation Is Worth It
A semi-frameless shower door is a safety-rated glass assembly installed in a wet environment. It requires exact measurement, appropriate drilling methods, correct wall anchoring, and a clear understanding of glass tolerances. While some stock units are marketed for do-it-yourself installation, custom openings and tiled showers rarely leave much room for correction.
Professional installation gives homeowners one accountable partner for design guidance, fabrication direction, fitting, and final quality checks. For renovation clients and designers, that coordination is especially valuable when several trades are working around finished tile, plumbing fixtures, and carefully selected materials.
At Accel Glass Services, the goal is not simply to place a door in an opening. It is to create a finished shower enclosure that feels intentional, operates confidently, and supports the look you envisioned each time you step into the room.
A well-planned shower door should disappear into the routine of daily life: it opens smoothly, keeps water where it belongs, and lets the craftsmanship of the bathroom speak for itself.