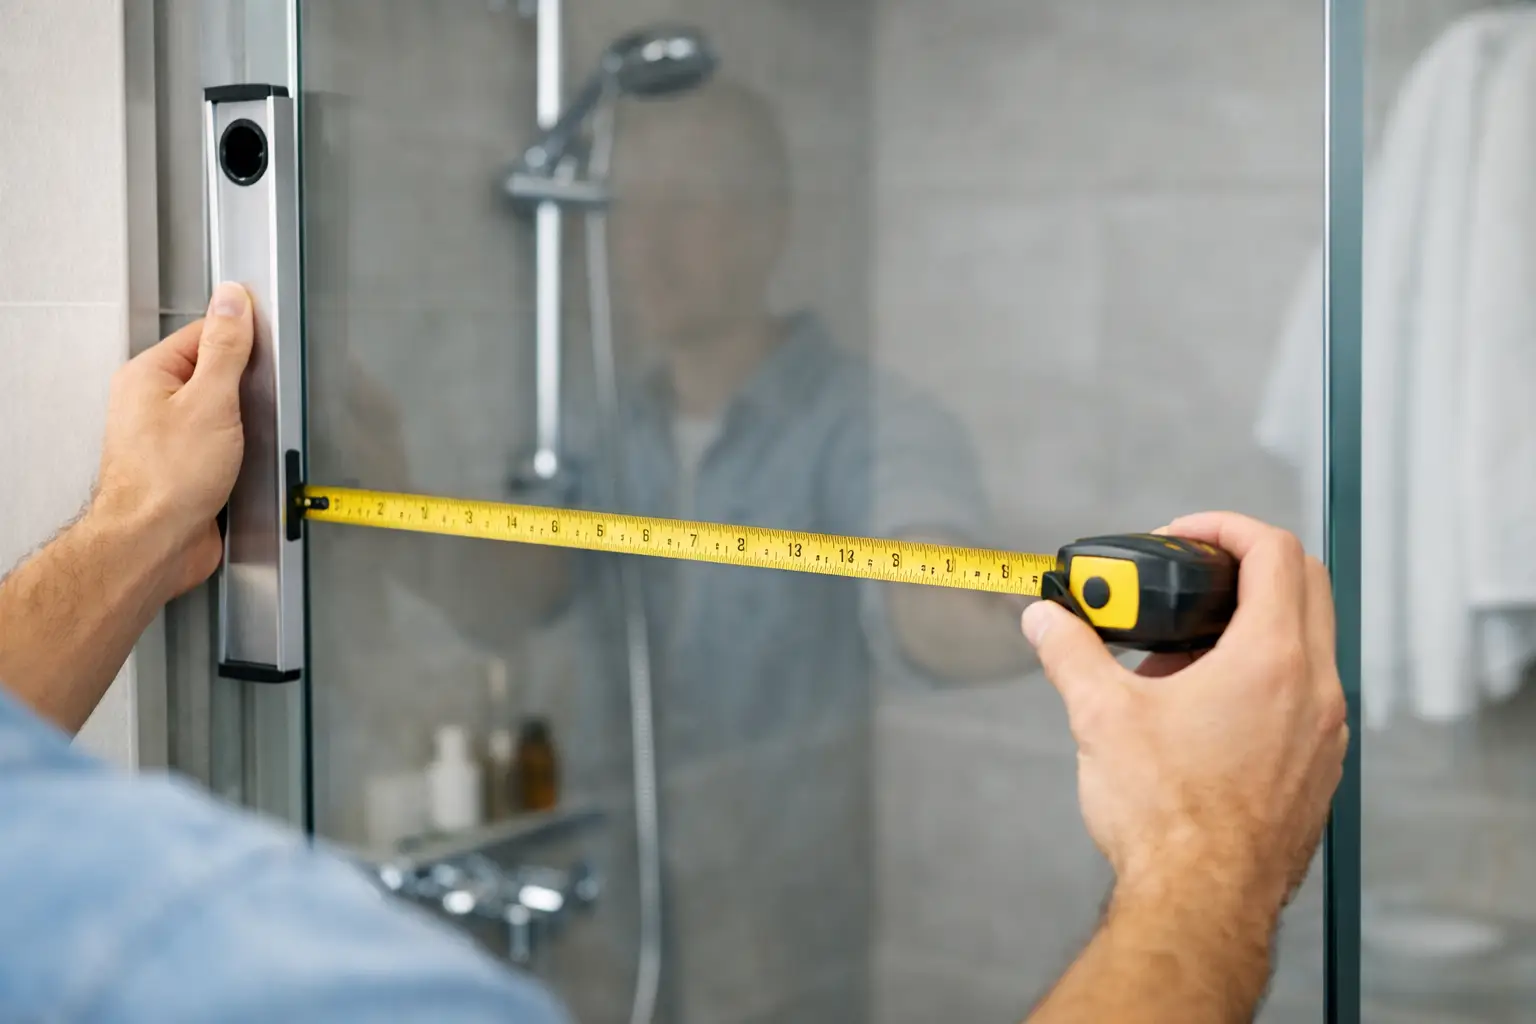
A shower opening can look perfectly square until a tape measure proves otherwise. Knowing how to measure shower door opening correctly helps you plan a better renovation, compare door styles realistically, and avoid ordering glass that does not suit the space. For a custom shower enclosure, a few fractions of an inch can affect the fit, the door swing, and the finished look.
The measurements below are useful for early planning and product selection. Final glass dimensions should always be verified on-site by a qualified glass professional after tile, stone, wall panels, and curbs are complete. Custom tempered glass cannot be cut down after fabrication, so precision at the final measure is essential.
Start With Finished Surfaces, Not Rough Framing
Measure only after the shower’s finished surfaces are in place. That means the wall tile or panels, shower curb, threshold, and finished floor should all be complete. Measuring from studs, backer board, or unfinished tile edges will produce dimensions that change before installation.
Use a quality tape measure with a rigid blade, a pencil, and a notepad or phone to record each dimension. A 24-inch level is also helpful for identifying walls or curbs that are not plumb or level. Record measurements in inches to the nearest 1/16 inch. Do not round up to make numbers look cleaner.
If your project includes a tiled curb, inspect its top surface first. It should provide a flat, solid mounting area and slope gently toward the shower interior for water management. An attractive shower door depends on the details beneath it.
How to Measure Shower Door Opening Width
For a standard opening between two finished walls, take three width measurements: across the bottom, across the middle, and across the top of the opening. Measure from finished wall surface to finished wall surface, not from trim, caulking, or the edge of an existing door frame.
Write each number down separately. For example, an opening may measure 47 1/2 inches at the bottom, 47 3/8 inches in the middle, and 47 1/4 inches at the top. That difference tells you the walls are not perfectly parallel, which is common in both older homes and new construction.
For planning purposes, the smallest width is usually the critical one. A framed or semi-frameless system may have adjustment range that accommodates modest variation. A frameless enclosure has less room to compensate, particularly when fixed glass panels and door gaps must align cleanly.
Do not assume an opening is standard simply because it appears close to a common door size. Shower doors are not selected by opening width alone. The layout, glass thickness, hardware, wall condition, and desired entry clearance all matter.
Measure the Height in More Than One Place
Next, measure the height from the top of the curb or threshold to the desired top of the glass. Take this measurement on both the left and right sides of the opening. If a header, soffit, sloped ceiling, or decorative tile feature is involved, measure those details as well.
Many custom shower doors stop below the ceiling, but there is no one correct height. The best choice depends on ventilation, splash control, hardware style, sightlines, and the overall bathroom design. A taller enclosure can create a refined, open appearance, while a lower configuration may work better with a window, bulkhead, or limited wall height.
Always measure from the actual surface where the glass or hinge will sit. If the curb top is uneven, note the high and low points rather than relying on one measurement.
Check Whether the Walls Are Plumb
A door can be accurately sized and still perform poorly if the walls lean significantly. Place a level vertically against each wall where hinges, channels, or wall-mounted clamps may be installed. Small variations are normal, but they need to be accounted for before glass is fabricated.
Out-of-plumb walls affect more than appearance. They can change door clearances, create uneven gaps, and limit how well a frameless door closes against its seal. In some cases, a wall channel, carefully selected hinge system, or a semi-frameless design offers a more forgiving and equally polished solution.
This is one of the most valuable reasons to have a professional final measurement. The goal is not to force a perfectly square glass box into an imperfect opening. The goal is to design an enclosure that looks intentional, operates smoothly, and manages water properly.
Measure the Curb or Threshold Depth
The top of the curb is where many shower door installations are anchored. Measure its depth from the inside edge to the outside edge, then note whether the top is level, sloped, tiled, stone-clad, or made from a solid surface material.
A narrow curb can limit the hardware and glass configuration that will fit safely. It may still accommodate a custom solution, but the installer needs to know the available mounting surface before recommending a pivot door, hinged door, sliding system, or fixed panel.
Also look for obstructions near the threshold. Toilet clearances, vanities, heating registers, benches, and floor transitions can all affect where a door can swing or where a sliding panel can travel.
Decide Which Way the Door Should Open
Measuring the opening is only half the job. A shower door needs room to operate safely in the bathroom. Stand outside the shower and map the door swing with a tape measure, painter’s tape, or a piece of cardboard cut to the approximate door width.
Most hinged shower doors open outward, which is an important safety feature if someone falls inside the shower. Depending on the hardware and layout, some doors can swing both in and out. The available clearance determines what is practical.
Check for contact with a vanity, toilet, towel bar, wall, or another door. Consider who will use the shower and how they move through the room each day. A wider entry may be more valuable than a larger glass door panel, especially in a compact bathroom.
For a sliding shower door, measure the full span available for the track and identify where the fixed and moving panels will sit. Sliding systems are often a smart option where an outward-swinging door would crowd the room, although they have different cleaning and access considerations than a hinged frameless door.
Account for Return Panels and Neo-Angle Layouts
Not every shower opening sits between two walls. A walk-in shower may have one fixed panel, a door with a return panel, or glass meeting a tiled half wall. A corner shower may use a neo-angle layout with multiple glass sections and angled connections.
For these designs, measure each individual run of glass along the curb or floor line. Record the length of every wall, return, and open edge, along with the height at each endpoint. Photograph the space from several angles and include nearby windows, niches, shower heads, benches, and plumbing controls.
If glass will meet another glass panel, the angle matters as much as the linear measurement. Do not estimate angles by eye. A professional template or digital measurement process is the right approach for complex layouts.
Know What Not to Measure Around
Existing shower doors, old frames, worn caulking, and decorative trim can hide the true finished opening. If you are replacing an enclosure without changing the tile, measure the finished tile-to-tile opening after the old door is removed whenever possible. Measuring an old frame often gives you the frame size, not the space available for a new system.
Avoid treating a glass door like a standard interior door. Glass requires proper edge clearances, hinge allowances, seals, and support. The finished door size will be intentionally smaller than the physical opening in many configurations.
When to Bring in a Glass Professional
A homeowner can gather excellent planning measurements, but final dimensions for custom glass should be confirmed by the installation team. This is particularly true for frameless doors, uneven tile, natural stone, curbless showers, angled walls, or openings with limited swing clearance.
A professional site measure evaluates conditions a tape measure alone cannot capture: wall backing for hinges, the condition of tile and grout, curb slope, plumb and level variation, hardware placement, glass weight, and the safest installation method. It also protects the design intent. Clean lines, consistent gaps, and a door that closes with confidence are the result of coordinated measuring, fabrication, and installation.
At Accel Glass Services, that final verification is part of turning a bathroom vision into a finished glass feature that feels made for the room – because it is. Bring your preliminary measurements, photos, and design ideas to the conversation, then let the final fit be guided by the surfaces and details that are actually in place.
A well-measured shower door does more than fill an opening. It gives the room a composed, durable finish and makes every use of the shower feel considered.
Leave a Reply