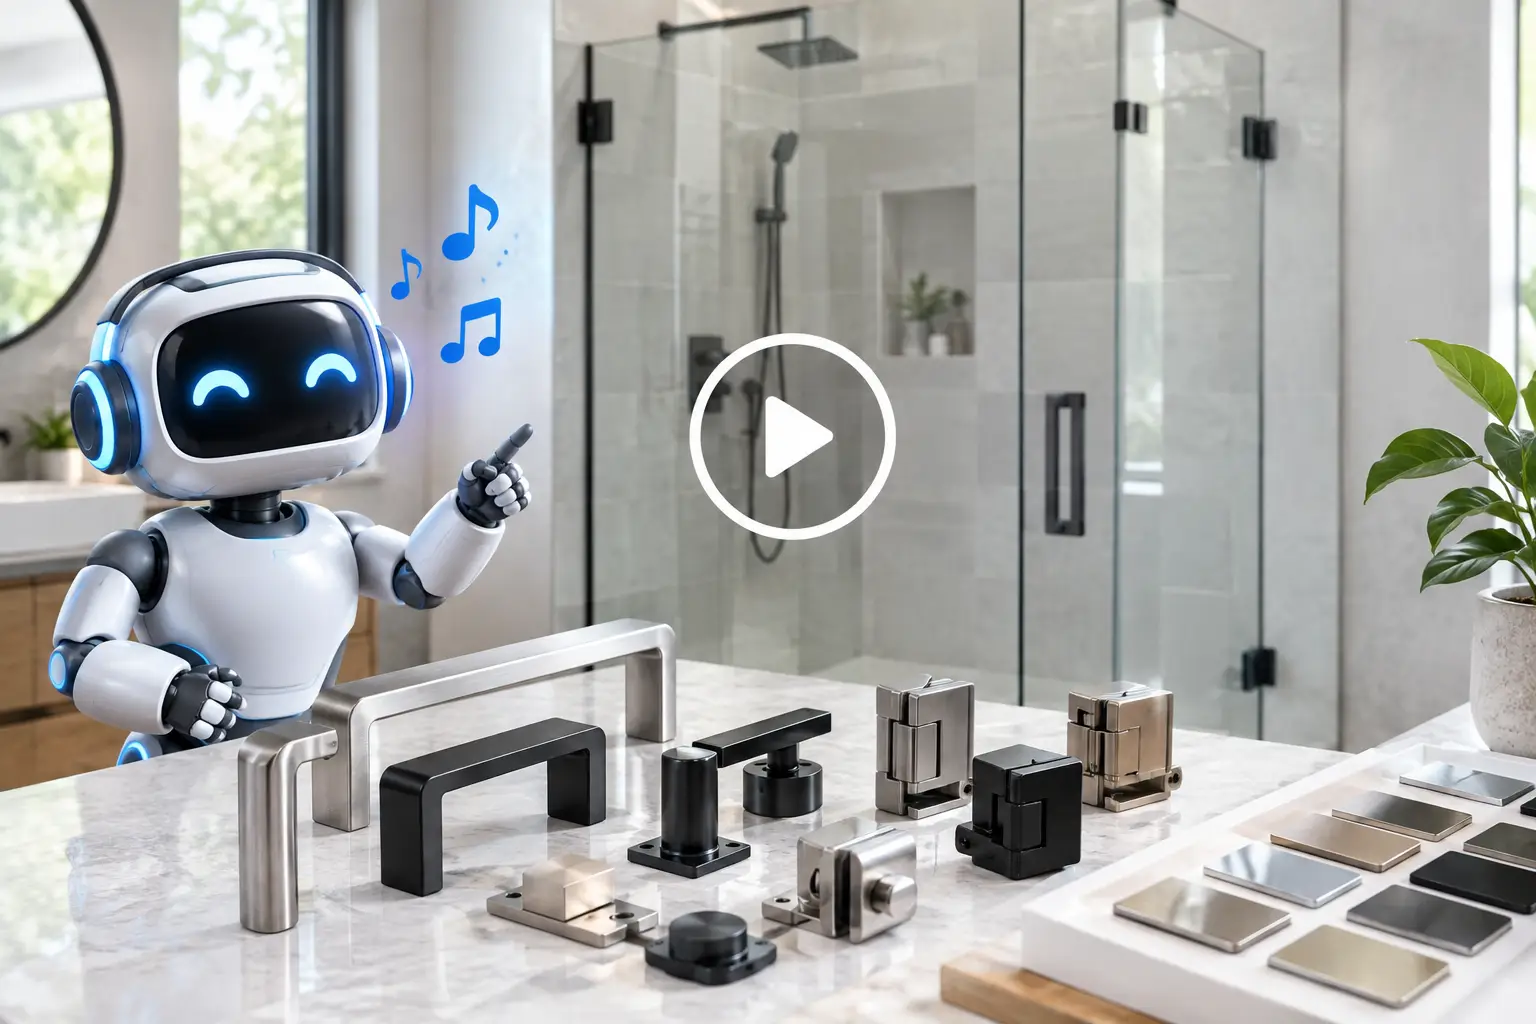
A shower enclosure can have beautifully chosen tile and carefully planned lighting, yet still feel unfinished if the hinges, handle, and clips do not suit the space. Knowing how to select shower door hardware helps turn a glass panel into a shower that feels substantial, opens comfortably, contains water properly, and complements the rest of the bathroom.
Hardware is more than a finishing detail. It carries the weight of the glass, sets the door’s swing and clearance, and influences how easily the enclosure can be cleaned and used every day. The right choice comes from balancing your preferred look with the actual conditions of the room.
Start With the Shower Layout, Not the Finish
It is tempting to begin with a matte black handle or polished chrome hinges. In a custom shower project, however, the enclosure layout must come first. The location of walls, the curb or shower base, ceiling height, fixture placement, and available floor clearance all affect what hardware will work.
A hinged door needs room to swing. Depending on the layout, it may open outward, inward, or in both directions. An outward-opening door is often preferred for safety and can make a compact shower easier to access, but it must not strike a vanity, toilet, towel bar, or nearby door. A sliding configuration can be a practical alternative when swing clearance is limited, although it brings its own track and cleaning considerations.
The glass itself also affects the hardware plan. Heavier glass requires appropriately rated hinges, secure mounting, and a careful review of the supporting wall structure. A frameless or semi-frameless design can look clean and open, but its fittings must be selected and positioned precisely. Small measurement errors can become noticeable when glass, tile, and metal meet at tight tolerances.
Consider Where the Hardware Will Mount
Shower door hinges may mount glass-to-wall or glass-to-glass. A wall-mounted hinge depends on a suitable, solid mounting area behind the finished wall. This is especially relevant in a renovation, where the wall may be tiled before the final enclosure measurements are taken.
Glass-to-glass hardware can create a more open appearance in corner showers or return-panel layouts. It also requires exact fabrication, since holes and notches are created before tempered glass is delivered. Unlike wood or many metal components, tempered glass cannot be cut or drilled after it has been manufactured.
For this reason, the most dependable process is to confirm the enclosure design, take final site measurements after tile is complete, and select hardware that matches the approved glass configuration.
How to Select Shower Door Hardware by Function
A polished appearance matters, but daily operation should lead the decision. Think about who uses the shower, how often it is used, and what will make the room easy to live with over time.
Hinges: Support, Swing, and Control
Hinges should be designed for shower glass and rated for the weight, thickness, and width of the door. This is not a place to substitute general-purpose cabinet or interior-door hardware. Quality shower hinges are engineered to hold heavy glass securely and are commonly self-centering, helping the door return to a closed position.
Ask how wide the door can be while remaining stable and comfortable to operate. A wider door may create a generous entrance, but it is also heavier and needs more clearance. In some bathrooms, a narrower hinged door paired with a fixed panel creates a better balance of access, visual openness, and long-term performance.
Also consider the hinge swing. A 90-degree swing may be ideal for one layout, while a 180-degree hinge may be needed when a door must open fully against an adjacent glass panel. The correct answer depends on the shower plan, not simply on what looks best in a product photo.
Handles and Knobs: Comfort Matters
The handle is one of the most frequently touched pieces of the enclosure. It should be easy to grip with wet hands, feel proportionate to the door, and coordinate with nearby faucets, cabinet pulls, and towel accessories.
A ladder-style pull offers a strong architectural look and a generous grip. A smaller D-pull can feel more understated. Knobs are compact and can suit a minimal design, but they may be less convenient for users who prefer a fuller handhold. For a busy family bathroom or an accessible design, a comfortable pull is usually the more practical choice.
Some handles include an integrated towel bar. This can save wall space in a smaller bathroom, though it should be placed where a hanging towel will not interfere with the door swing or create a damp spot against nearby finishes.
Clips, Channels, and Support Bars
Fixed glass panels need hardware that holds them securely while preserving the intended visual style. Small metal clips create a light, nearly floating appearance. A U-channel provides a more continuous edge detail and can accommodate minor variations in a wall or floor surface. Neither option is automatically better.
Clips are often chosen for a clean frameless look, while channels can offer a more forgiving installation solution in spaces where walls are not perfectly plumb. In larger or taller fixed panels, a support bar may also be necessary. A properly placed bar adds stability without making the enclosure feel overly framed.
Choose a Finish That Belongs in the Room
Finish selection is where hardware becomes part of the overall design. Chrome remains a popular choice because it is bright, versatile, and easy to coordinate with many bathroom fixtures. Brushed nickel offers a softer, less reflective appearance and can be more forgiving of water spots. Matte black delivers contrast and works especially well with modern tile, black plumbing fixtures, or darker accents.
Brushed gold, brass-toned, and other specialty finishes can add warmth and personality, particularly in a more elevated or traditional bathroom. They require a little more planning. Finish names can vary between manufacturers, so “brushed gold” on a faucet may not exactly match “brushed gold” on shower hardware.
Exact matching is not always necessary. A deliberate mix of finishes can look refined when the room has a clear visual hierarchy. For example, black shower hardware may pair successfully with warm brass lighting if each finish appears elsewhere with purpose. What tends to look accidental is a single isolated finish with no connection to the rest of the room.
Before committing, view physical samples when possible. Light changes the appearance of metal throughout the day, and photos rarely show the difference between polished, brushed, satin, and matte surfaces accurately.
Do Not Overlook Water Management
Even premium hardware cannot compensate for an enclosure that has not been designed to direct water properly. Door gaps, sweep placement, panel overlap, curb slope, and showerhead location all contribute to performance.
A frameless shower enclosure is not intended to be completely airtight. Small clearances are necessary for the door to operate safely. The goal is thoughtful water control, not excessive sealing that restricts movement or traps moisture. Door sweeps and clear vinyl seals can help manage splash while maintaining a minimal appearance, but they are wear items and may eventually need replacement.
If the showerhead faces directly toward the door opening, a fixed panel or revised layout may be more effective than relying on a larger seal. Likewise, a low or curbless entry may call for more careful planning around panel placement and spray direction. These are design decisions best addressed before glass is fabricated.
Prioritize Materials and Installation Quality
Shower hardware lives in a humid environment and is exposed to water, cleaning products, and regular use. Choose fittings intended for wet applications and designed to resist corrosion. Solid brass construction and quality stainless steel components are common choices for durable shower hardware, depending on the fitting and finish.
The hardware must also work with safety glass of the correct thickness and fabrication. Holes, cutouts, and edge finishing need to align accurately with hinges, handles, clips, and wall conditions. Professional installation is not simply a final step. It is where careful measuring, level alignment, proper anchoring, and final adjustments come together.
For homeowners in the greater Edmonton area, a custom glass partner can help identify issues before they become expensive changes. At Accel Glass Services, the process focuses on translating the bathroom vision into a fitted enclosure that accounts for layout, glass, hardware, and installation conditions from the start.
Plan for Cleaning and Long-Term Use
Minimal hardware may reduce visual clutter, but it should still allow access for cleaning. Sliding systems can be a smart answer for tight rooms, yet tracks generally require more routine attention than a simple hinged door. Hinges and clips are easier to wipe around, while specialty finishes may need gentler cleaning products to protect their surface.
Avoid abrasive pads, harsh powders, and strong chemical cleaners unless they are approved for the specific finish. A squeegee after showering, soft cloth cleaning, and occasional inspection of seals and fasteners will help preserve the enclosure’s appearance.
The best hardware choice is the one that looks considered on installation day and continues to feel reliable years later. When dimensions, door movement, finish, water control, and mounting are resolved together, the result is not just a beautiful shower door – it is a daily-use detail that feels precisely made for your home.
Leave a Reply